
The following shows one way to fabricate a Fly Over clasp used in conjunction with a Mandibular Osteotomy splint.
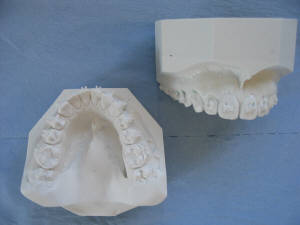
Lower and upper models after they have been articulated.

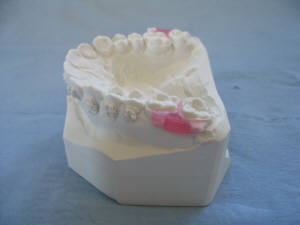
The upper model is then blocked out as shown. The space the wax occupies is where the arch wire would normally be however, it is removed whilst the impression is taken and replaced afterwards. Therefore, wax is positioned as shown to prevent the 'arm' / tag of the Fly Over clasp from bisecting the arch wire.
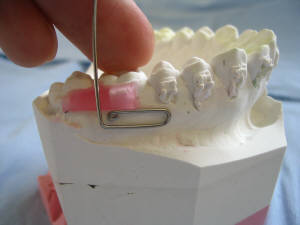
The Fly Over clasp is fabricated in 0.8mm S/S wire and to begin, (using a rubber bur) one end of the wire is 'rounded off' / smoothed and then the wire is bent back on itself using Adams pliers.
The second bend is made approximately one and a half centimetres along the wire and is made with 'half round' pliers. The wire should bend back on itself again to form a loop-similar to that made on a labial bow.
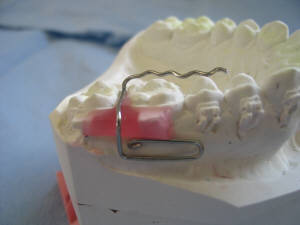
The 'arm' / tag is then bent towards the palate, distal to the first molar. Remember to keep the tag arm low and well formed to the interstitial area.
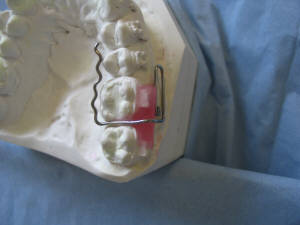
The wire is then bent in the direction of the premolars and canine. Retention bends are then made in the wire to ensure stability of the clasp in the acrylic. The retentive tags may be extended along the full length of one half of the arch, so both retentive tags on each 'Fly over' clasp meet and cross over and the 1/1.

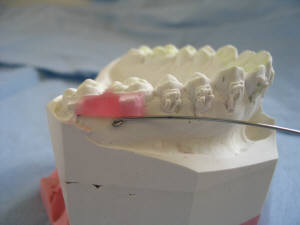
The Fly Over clasp is then waxed into position by placing wax on the buccal side of the model and not on the occlusal surface.
Another Fly Over clasp is made on the opposite first molar (in the same arch) in the same way.

The upper and lower teeth are waxed out in the labial, lingual, buccal and palatal areas as shown. Remember to prevent the wax from interfering with the occlusion.
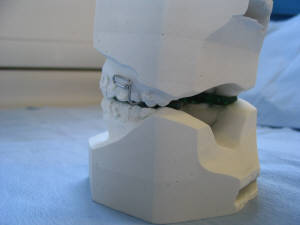
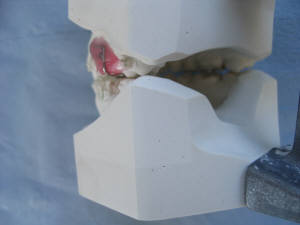
After the models have been soaked for 10 minutes, acrylic is then applied to the occlusal surface of the upper teeth, both models placed on the single hinge articulator and the articulator closed-bringing the lower model gently into the occluded final position.
It may be necessary to spray acrylic into the lingual / palatal area to ensure adequate coverage of the Fly Over clasps and also adequate thickness of the actual splint.
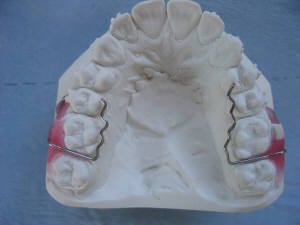
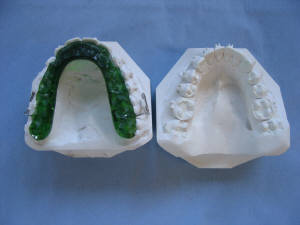
These pictures show the finished splint. Please use these pictures as a 'trimming guide'. The acrylic is trimmed, ensuring an easy fit and polished in the usual way.