
The Labial Bow fabricated in 0.8mm S.S wire.
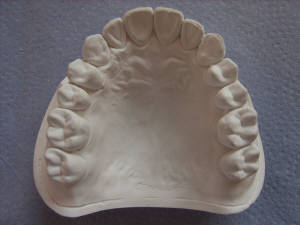
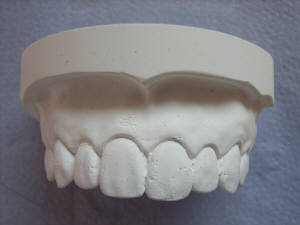
The upper model.
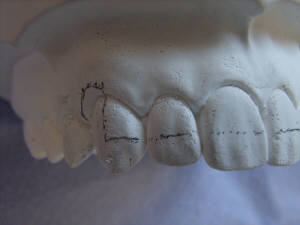
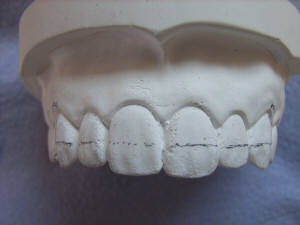
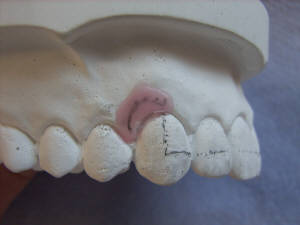
A light pencil line is marked on the upper model as a guide to show the position of the Labial Bow and 'U' loops. N.B. The Labial Bow should be mid crown height and level with the occlusal plane.
The following 'spacer technique is not commonly used by experienced dental technicians.
A light (1mm) wax spacer may be placed in the 'U' loop area to create an instant space between the gingival soft tissues / model and the 0.8mm S.S wire. (When forming the 'U' loop, the in 0.8mm S.S wire must contact the wax spacer. Failure to ensure this will result in a greater space between wire and soft tissues, which is undesirable).
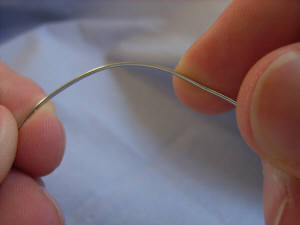
A suitable length of 0.8mm S.S wire is cut and an 'ideal arch' is formed using the fingers and thumbs.
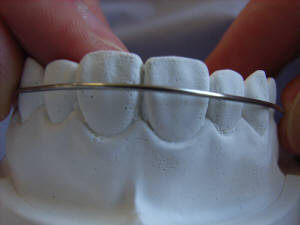
The Labial Bow arch is checked on the model and should rest against each anterior tooth passively.
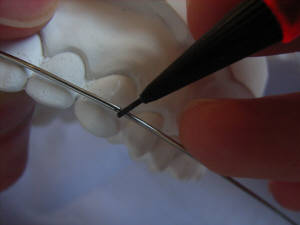
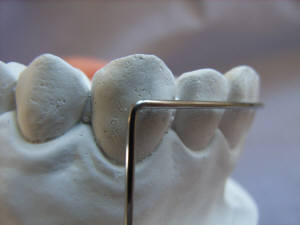
A pencil mark is placed on the 0.8mm S.S wire at the point of the canine eminence, usually at the mid point of the canine and a 90 degree bend is formed.
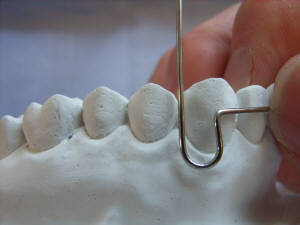
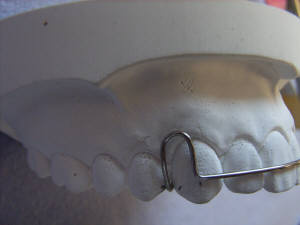
The 'U' loop is then formed using 'flat round' pliers / 'spring former' pliers. N.B. The length of the 'U' loop should curve just beyond the gingival margin as shown in the image.
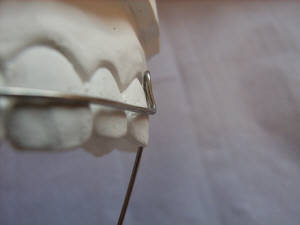
As mentioned above, a 1mm space between soft tissues and the 0.8mm S.S wire is ensured for patient comfort. The distal tag wire of the 'U' loop / Labial Box is then formed over the interstitial area of the teeth.

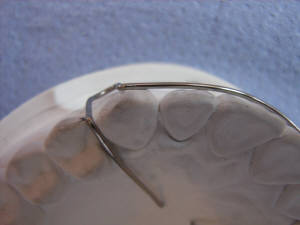
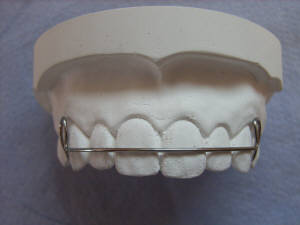
The finished Labial Bow: -
* Contacting all anterior teeth passively and tag arms ending at approximately two thirds into the palate.
* 1mm spacing between 'U' loop / tag arm and soft tissues.
* The 'U' loop should curve just beyond the gingival margin.
* Labial Bow at mid crown height and level with the occlusal plane.